Cell Phone, Tablet, & Computer Repair
Buy, Fix, or Sell Us Your Devices. Locations & Knowledge Base
Our Services
Smartwatch Repair
Console Repair
Sell To Us
Buy Electronics
How To Begin
Choose From 3 OptionsReady to have your FREE Diagnostic or start your Gadget Repair? Simply choose an option below.

Call Us
Dial 702-444-0000, Option 1 and speak with a technician.
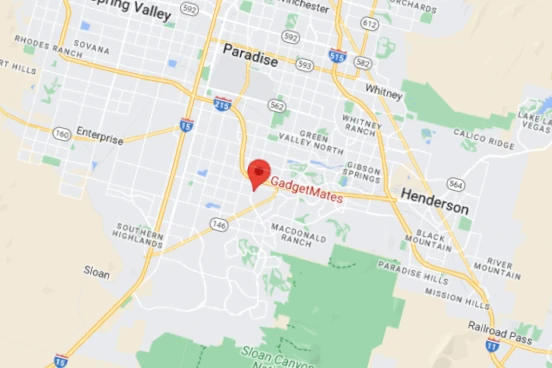
Stop By A Location
7 Days a week. 10AM – 7PM. No appointment needed.

Book Online
Use our book-online tool to reserve your spot.
GadgetMates Knowledge Base
Latest Knowledge Base Articles
- Can You Turn Off Meta AI? No. But Here’s How To Limit ItMeta AI is an assistant/chatbot developed by Facebook’s parent company, Meta. It’s supposed to help…
- Infinite Craft Random Word GeneratorThe Infinite Craft Random Word Generator below can add an exciting twist to playing Infinite…
- How to Stop Pictures from Automatically Saving on iPhoneIf you’re an iPhone user, you may have noticed that photos sent via iMessage are…
Why Choose Us?
We Buy Phones & Other Electronics!
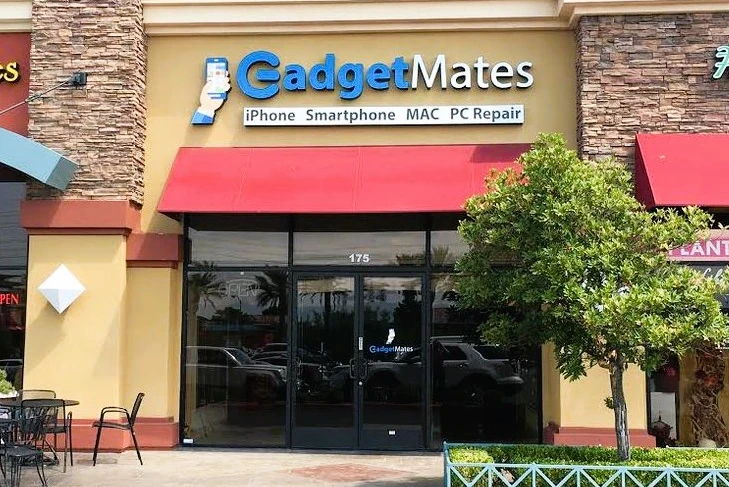
Looking to buy, sell, or trade? As the leading local Electronics / PC / Apple buyer & reseller in Las Vegas we offer much more than just repair. We’re the top local shop where you can buy or sell your electronics for cash. Stop by a location to get started.
Our Customers Love Us & We Love Them Back.
Proud To Be Vegas Born. We were founded in Las Vegas and we’re owned, operated, and staffed by locals. We can not thank the people of Southern Nevada – Las Vegas, Henderson, & Boulder City – enough for all the generous support over the years. If you’re looking for a local electronics repair shop, you’ve found one in GadgetMates.
Years In Operation
5-Star Electronics Repair Center
“We’ll diagnose the problem with your device for FREE with NO obligation to continue. Come see us first.”
Known in Nevada for high-quality repairs, exceptional customer service, & honest diagnostics, we’re top rated on Google & Yelp for repairs on all types of gadgets & electronics like phones, tablets, watches, computers, drones, game consoles, & more. Call to get fast affordable iPhone Repair near you.
or Call 702-444-0000
“cool people, brought in my partner’s ps4 after it overheated. Jose kept me informed on every part of the process…”

Daniel E
Las Vegas, NV
“I recently visited this place for liquid damage on my laptop, and I was thoroughly impressed with the service I received…”

Remy C
Las Vegas, NV
What Our Customers Say About Us
We invite you to visit our Google and Yelp profile pages to find out more about us and to see why our customers have rated us 5-Stars all over the web.
Contact Us
Submit A Message
Fill out the form and one of our team members will get back to you as soon as we can.
702-444-0000


